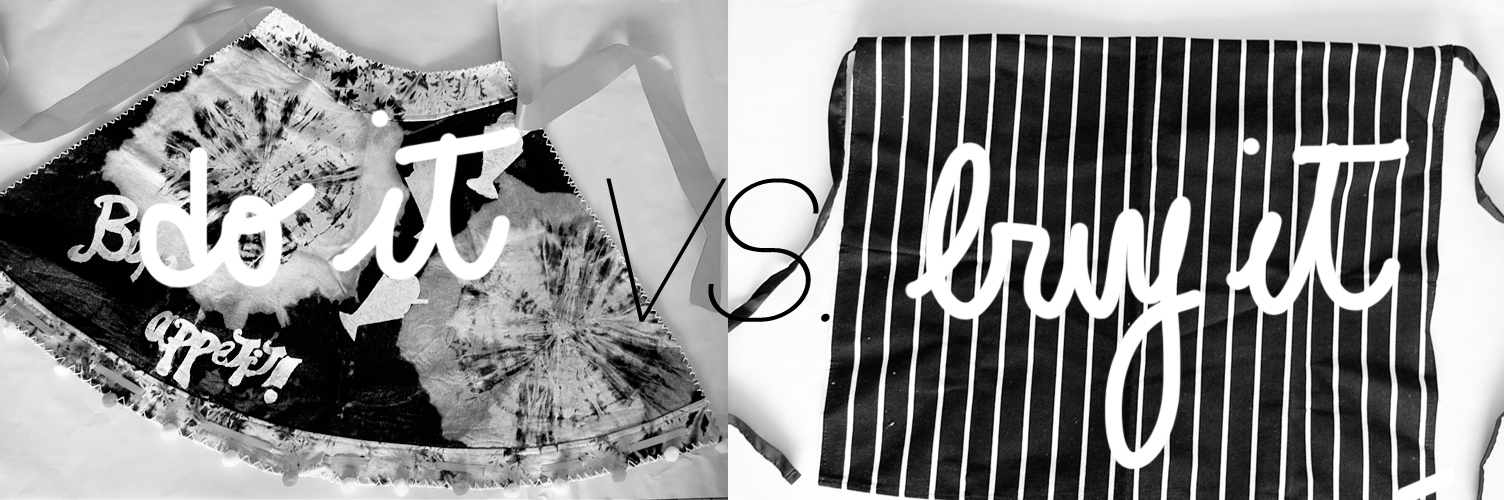
21 Feb 2013 DIY vs. BIY… a hippie cooking apron
I have to admit that I am not a very “cooking person” I never have the natural talent and I didn´t practice it a lot either. For me is a an unresolved matter I hope some day I will take the leap into it. But for this DIY vs. BIY project is not necessary to know how to cook, the only request is to have some crafting time and have fun in the process. This week we are making a beautiful hippie cooking apron. The materials you will need for this project are: bleach, jean, string, ribbon, textile paints, brush, sewing kit, scissors, paper.

1.2. The first step is to cut the fabric with three molds: one for the main part of the apron and the others for the above and low part. 3.4. Once cut, you will need the string to isolate some zones of the fabric that you want to maintain the original color of the jean. 5. Immerse the part of the fabric you want to be discolor into the boil with water and bleach. 6. After these process remember to cut the strings and wash the fabric with lots of water.  This is a important step, so take your time and once the fabric is dry you can move to the final stage.
 7. Put together all the three pieces. 8. Sew all of the parts, I did it with a sewing machine, but you can do it by hand, just calculate extra time. 9. To give some color to the jean I add some fluo string in the edges of the apron, I sew it by hand by making a zigzag 10. Add some ribbon so you can tie your apron in the back.
 I wanted to decorate the apron with some “famous cooking words”, I used “Bon appetite” and I add some milkshake shapes. For this I recommend you textile paints. In my case I used some pastel tones.
 I also add some ribbon and pom-poms (of course my horse!!) to add more details, but depends on you.
 Hope you like this project and I have to say thanks to my little sister who help a lot in this project!!
Happy cooking time!!
Love,
Nina:)