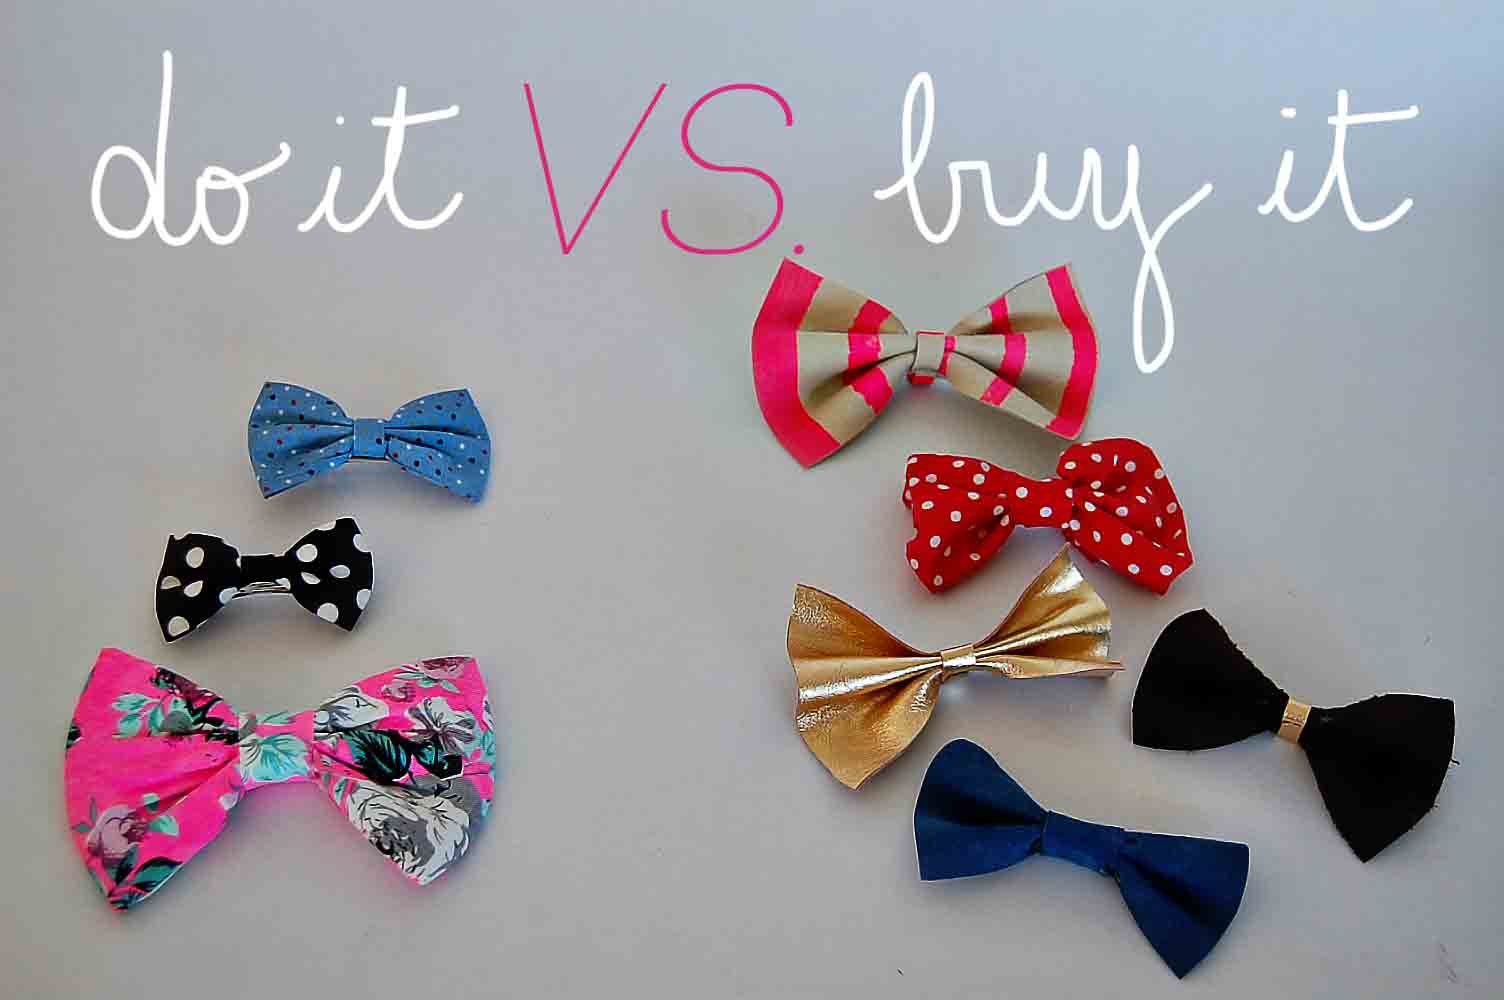
30 Jul 2013 DIY vs. BIY… Bow love
The thing with bows is that it is the kind of item it nevers goes out of fashion. A pretty bow on a headband, purse or brooch can be the perfect accessory. So this week I share a simple and fun craft project .. make your own bows in leather or fabric (the tutorial is based mainly on making bows in leather).
Materials you will need: leather (color you want) I picked up some diferents leathers including one I used for doing this clutch project a few months ago; clothpins, brooches, scissors and glue (UHU).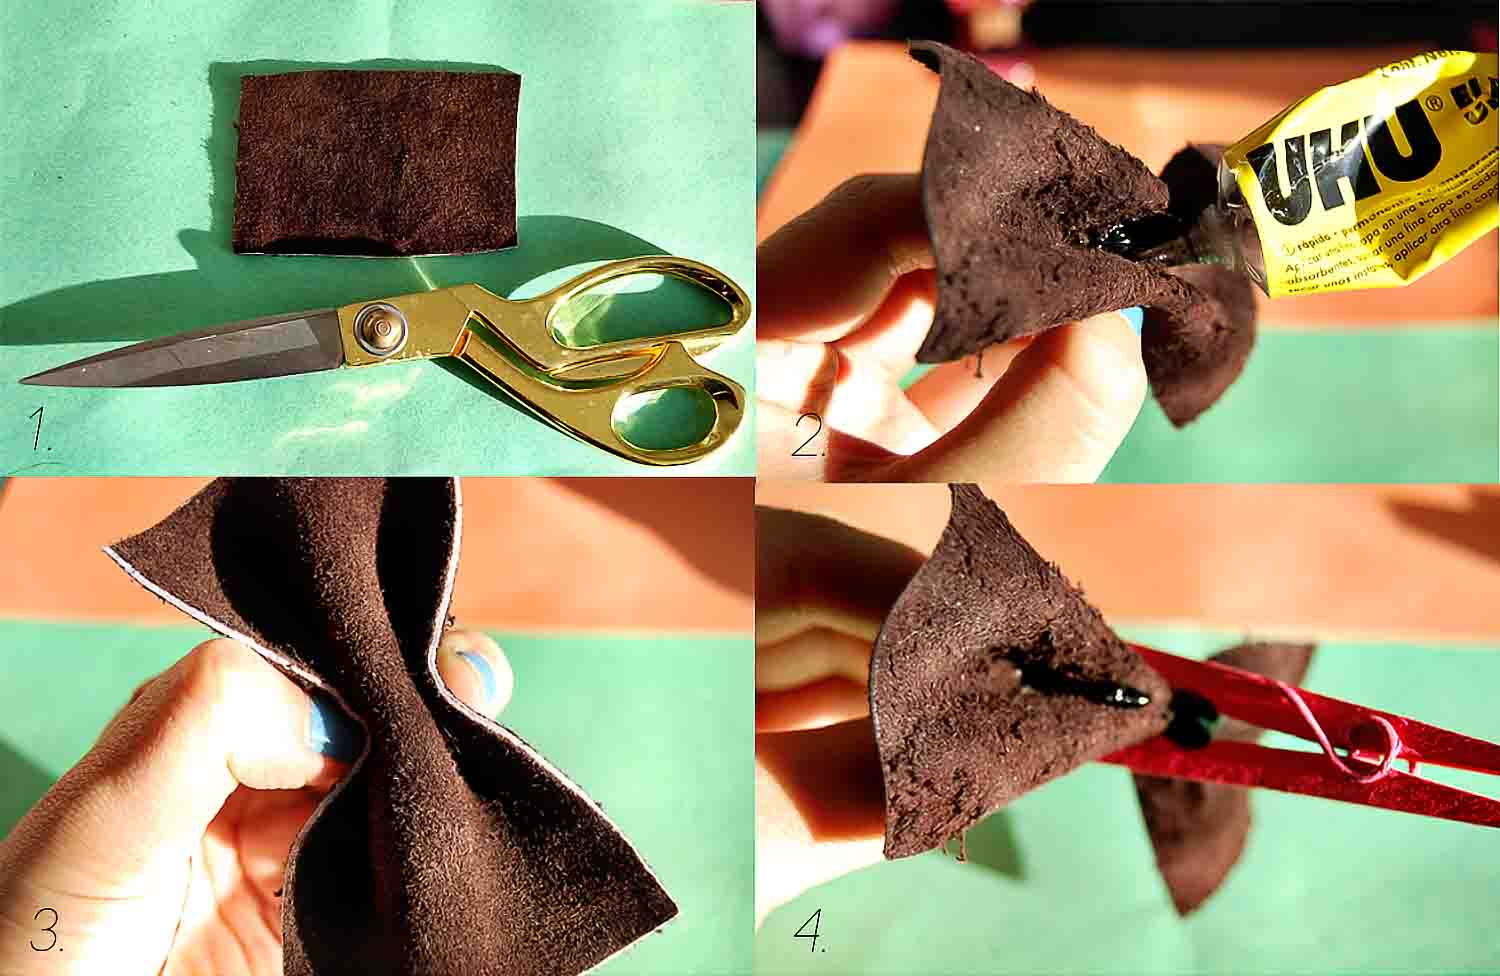
The process: 1. cut a piece of leather in the form of a rectangle. 2. Fold the rectangle in the middle forming a bow. At the central zone of the bow apply UHU or other adhesive glue. 3.Turn the bow and apply glue or UHU in the back, inside the folds. 4. Let it dry holding the center of the bow with a clothpin. 5. Once everything is dry, remove the clothpin and cut another rectangle of leather to end it neatly. 6. Paste the last piece around the bow and let it dry.
In case of wanting to use the bow as a brooch, add the brooch on the back sticking it with UHU or other adhesive. If not, as we said before use it to accesorize a purse, a headband or even a belt. Hope you like this project. I am in a bow love mood 🙂
Happy week everybody, Nina.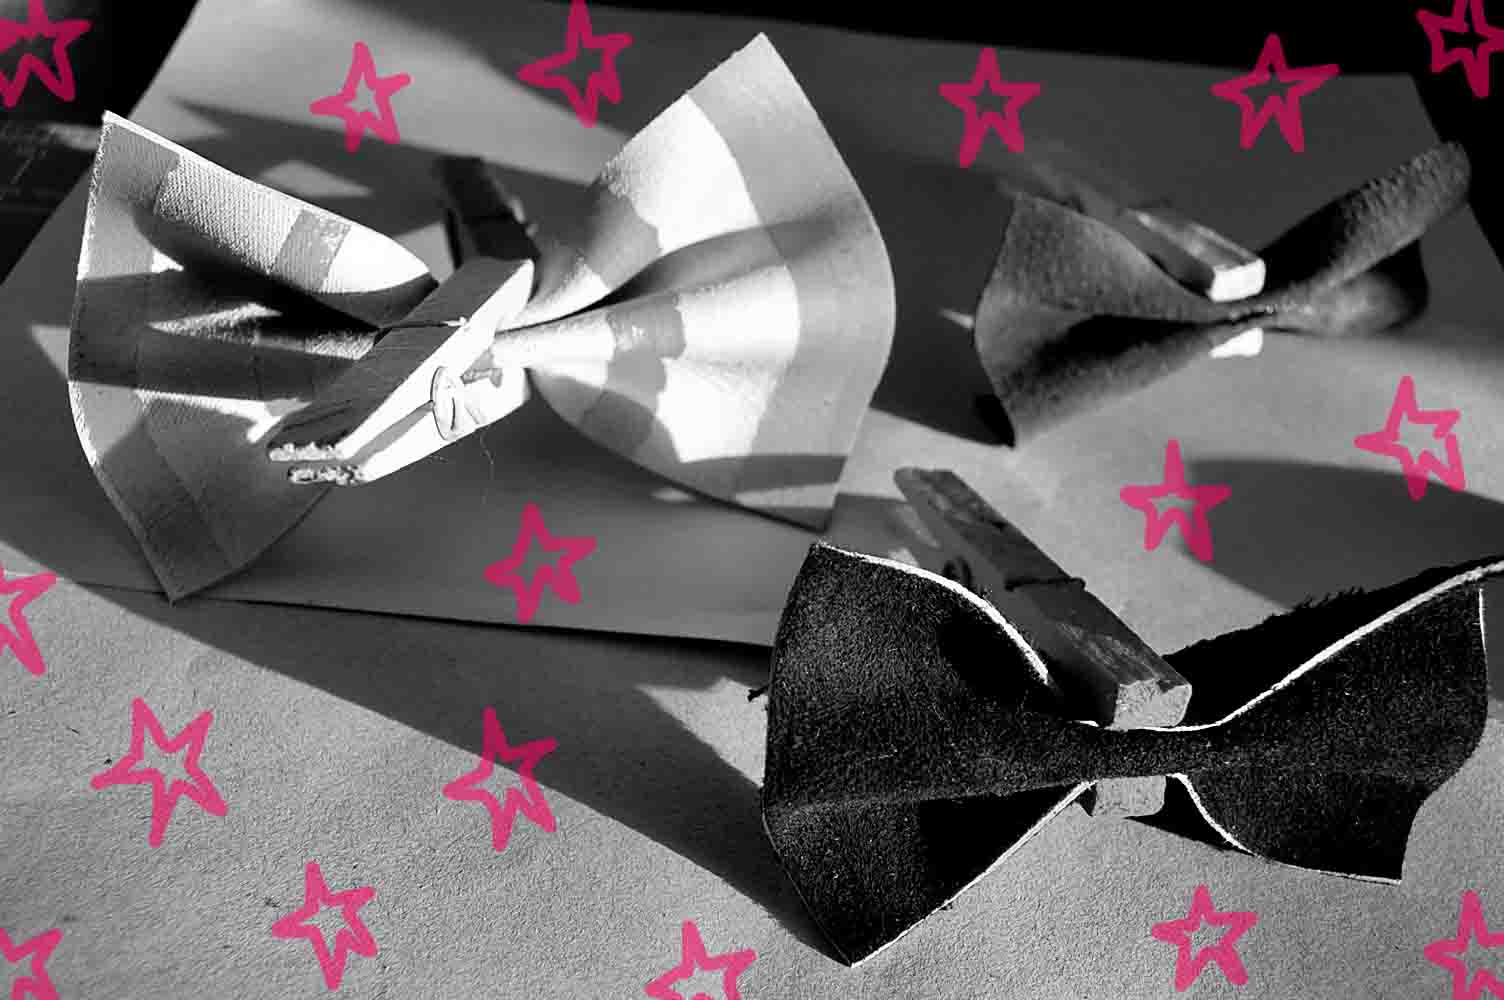
Spanish: Las moñas como que nunca pasan de moda. Una linda moña en una vincha, cartera o broche puede ser el accesorio perfecto. Así que esta semana comparto un proyecto sencillo y divertido..arma tus propias moñas en cuero o en tela (el tutorial principalmente está basado en hacer moñas en cuero). Los materiales que vas a necesitar son: cuero (del color que quieras) yo también utilice unos cueros que usamos cuando hice un sobre hace unos meses; palillos; tijera; pegamento (UHU).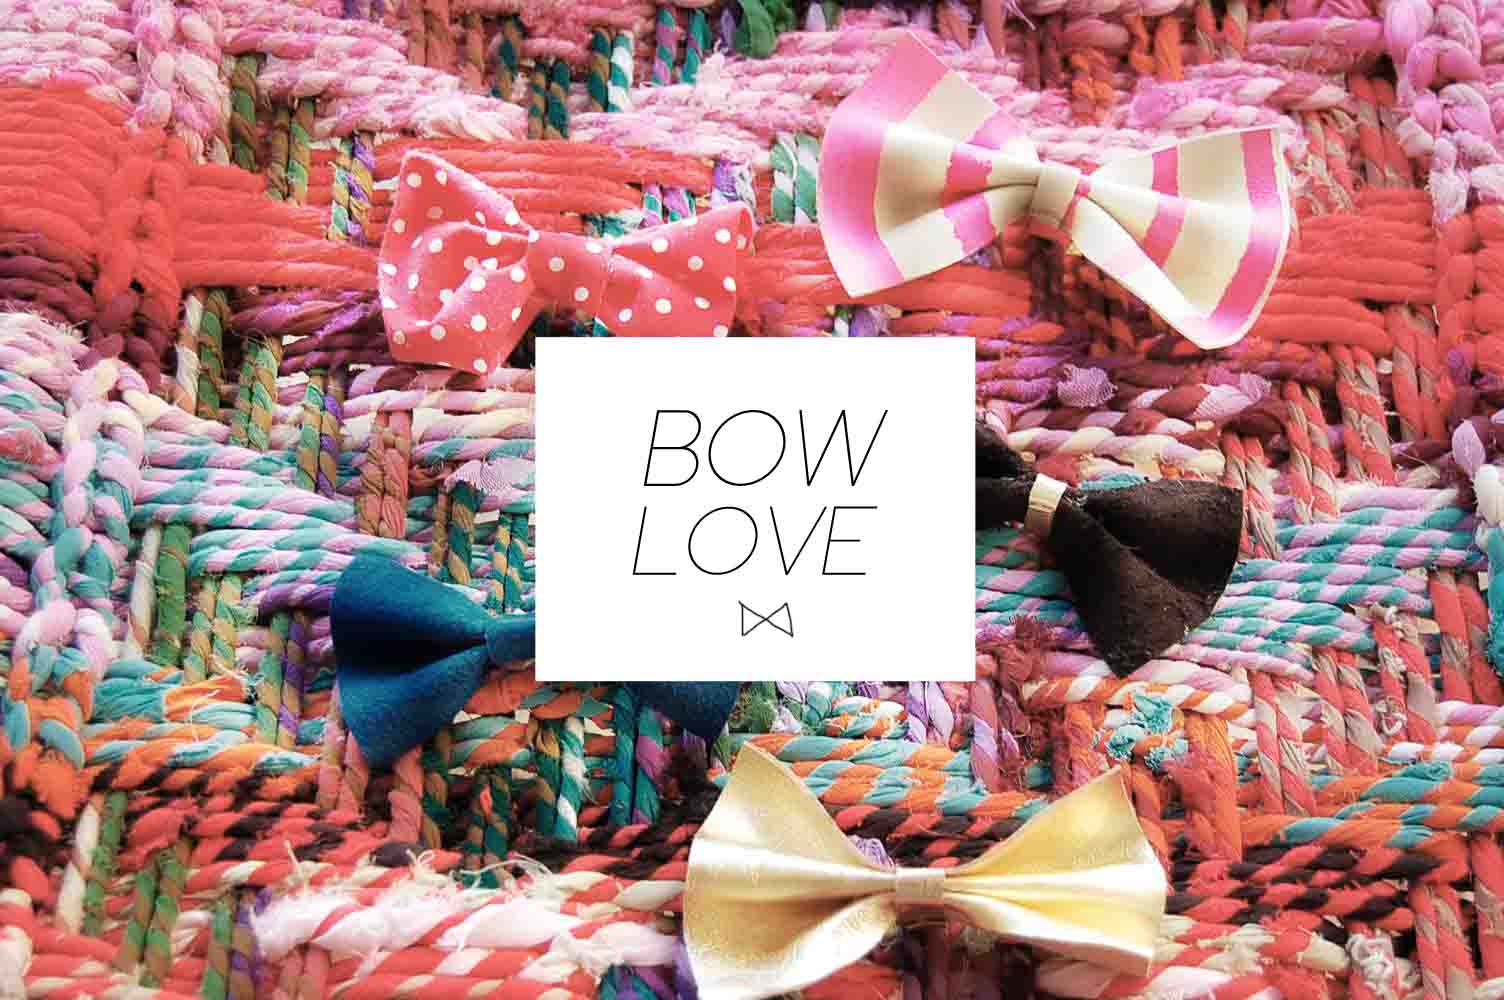
El proceso: 1. cortar un trozo de cuero en forma de un rectángulo. 2. Doblar el rectangulo de cuero en el medio formando una moña. Aplicar UHU u otro pegamento en la zona central. 3. Girar la moña y aplicar pegamento o UHU en la zona posterior, dentro de los pliegues. 4. Dejar secar sosteniendo el centro de la moña con un palillo. 5. Una vez seco todo, retirar el palillo y cortar otro rectangulo de cuero para darle finalización a la moña. 6. Pegar con Uhu u otro adhesivo y dejar secar.
En el caso de querer utilizar la moña como broche, ágregarle el broche en el lado posterior pegando con UHU u otro adhesivo. Sino pueden usarlas para lo que quieran, como dijimos decorar una cartera, una vincha, o incluso un cinturón. Espero les haya gustado el tutorial! Buena semana, Besos, Caro 🙂